A practical guide · TRACE
Turn a photo into layered SVG
TRACE separates a photograph into light and dark regions, then turns those regions into closed SVG paths. Use it for a graphic portrait, a print experiment, or a starting point for layered artwork. The result is a set of flat shapes; your original photograph stays available for a textured PNG export.
Open TRACECore tools work without an account. Image effects run in your browser.
Watch it in the studio
Silent recordings of the real playground with the sample photo. Each step is labeled with the control's name, so you can follow along in another tab.
Video unavailable. You can still read the written instructions on this page.
Steps in this clip
- Two layers: a bold silhouette
- Five layers: more tonal steps
- Three is a good start
- Detail controls how much structure survives
- Offset moves the plates apart
- Hold Original to compare
Video unavailable. You can still read the written instructions on this page.
Steps in this clip
- Open Plates
- Tonal bands follow the light
- Pick an ink family
- Solid inks show the SVG geometry
- Photo texture for the PNG
Video unavailable. You can still read the written instructions on this page.
Steps in this clip
- Open Export
- Choose Cut files
- Cut lines, at the finished size in millimeters
- Zoom in to inspect narrow details
- Confirm the flagged details
- Then download the cut SVG
TRACE / Start with a composition
The photographer, separated.
Focal priority keeps the person and camera legible while the background is grouped into broader masses. Five fitted tonal bands preserve the lighting; Solid inks exposes the same geometry delivered in SVG.
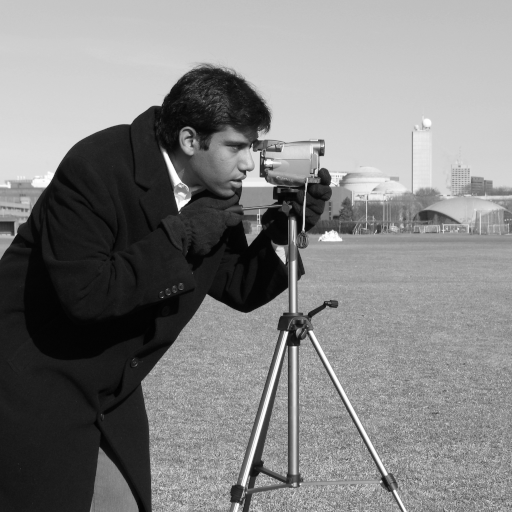
Lav Varshney · CC0 / public domain ↗
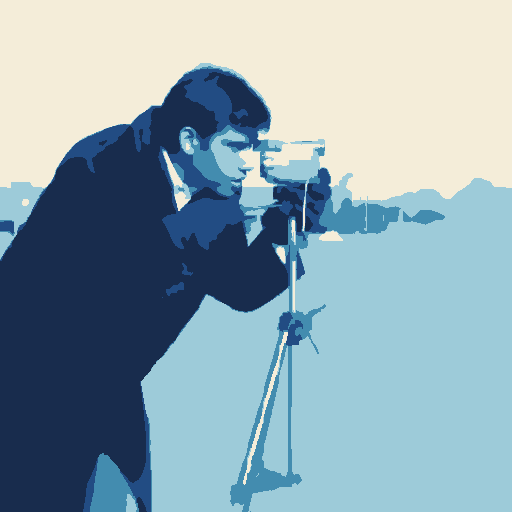
Download PNG ↓ · Editable SVG ↓
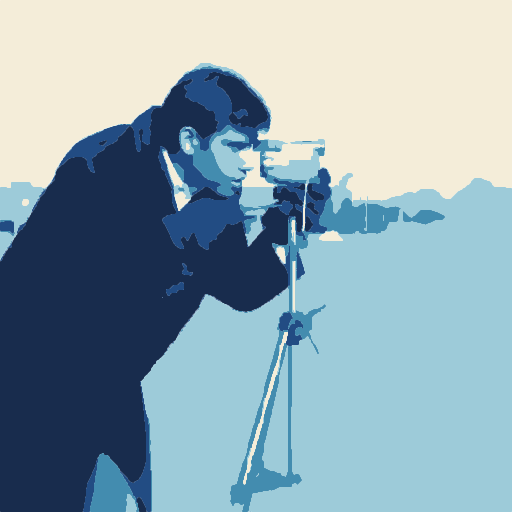
Make a decision. Look at the camera silhouette, face and jacket. Keep the lowest detail that preserves them; lower background detail when distant texture competes. A focal region guides simplification, it does not cut out a semantic subject.
Try it. Open Start → Tonal print. Place the focal area around the person and camera; compare Quiet background and Detail before applying. Applying Start is one undoable edit; compare the preview before applying, then keep a version in History.
For your own image, open Start → Load style and choose the downloaded file. Refit the focal area or crops, compare the preview and apply. The example uses an unmarked Pro output; the same creative controls are free.
Compare the earlier techniques
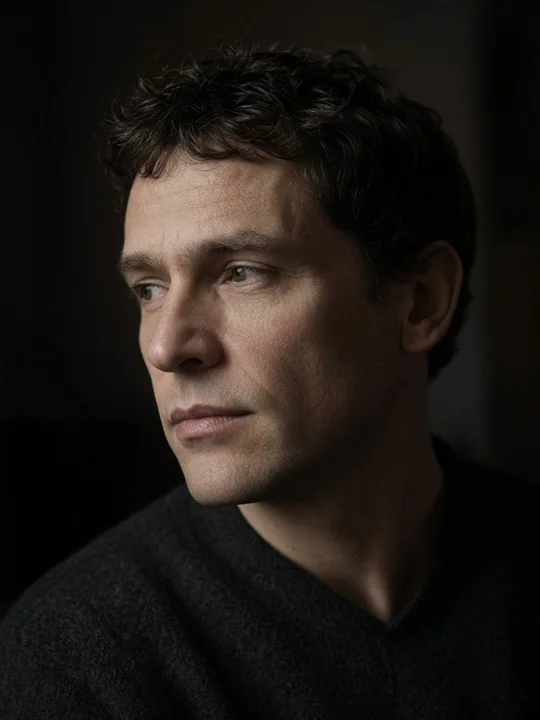
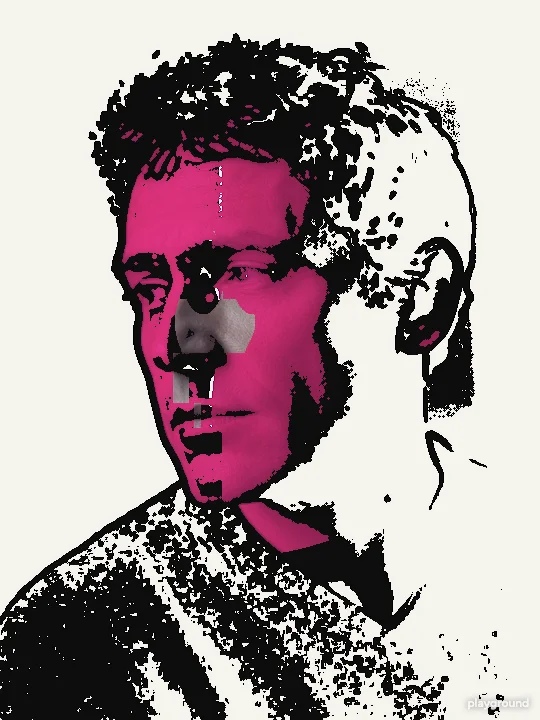
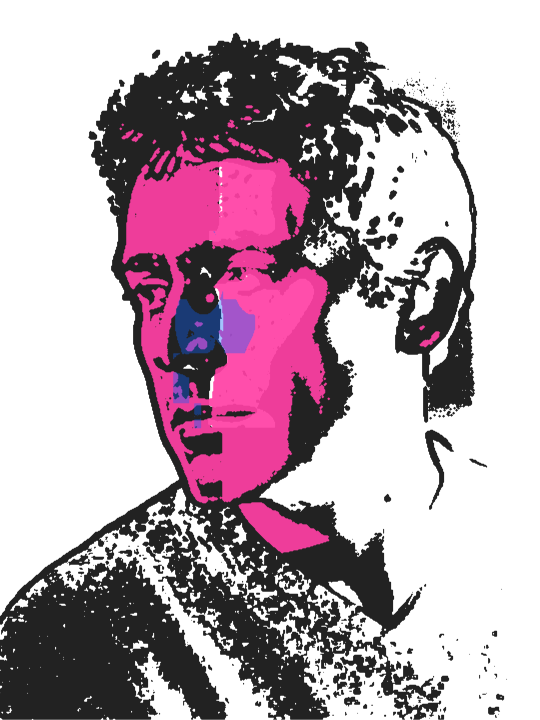
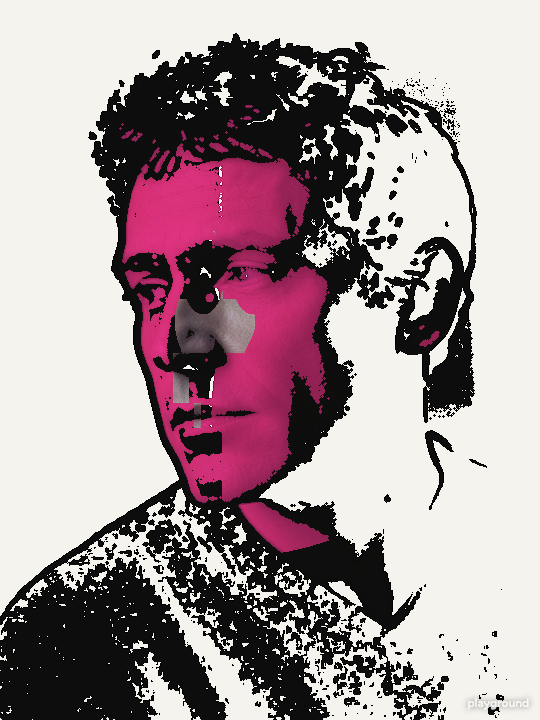
Actual studio exports from generated example images. These isolate layer counts, gestures and competition rules; they are not ordinary camera photographs.
Make it your own
Separate focal detail from background
Open Start → Tonal print. Place the focal region around the subject, turn on Give the focal area priority and adjust Quiet background, then choose Broad, Balanced or Fine detail. Turn off Keep photo texture to inspect the solid colors before applying. This guides simplification; it does not automatically cut out an object.
Choose a clear subject
Open TRACE and drop a JPEG, PNG, or WebP. A face against a quiet background or an object with a distinct silhouette is an easier starting point than a crowded scene. Hold Original to compare without losing your settings.
Separate the tones
Start with three layers. Use two for a stronger silhouette, or five for more tonal steps. Adjust Detail to control how much structure survives. Offset moves the plates apart; set it low when you want their contours to align.
Export the right file
Choose SVG for editable flat-color paths, PNG for the photo-textured composite, or Transparent PNG for a raster without the paper background. Pro adds a ZIP of named SVG layers. Open Cut files separately when dimensions and connected material matter.
Keep a direction across photographs
Save a style in Start after choosing the treatment and ink family. Load it with another photo and refit the focal area or paired crops before applying. A style holds reusable decisions; a project backup also holds the source images, History and recorded work.
Batch output can fit tonal bands and the focal treatment to each image. Inspect the subject and background on every result, especially when lighting changes. Preserve the ink family rather than forcing identical brightness boundaries onto every source.
What is inside the SVG?
The downloadable example contains paths rather than an embedded photograph. A single SVG combines the visible plates in their compositing order. Holes remain holes inside compound paths, so an opening surrounded by a shape does not become a filled rectangle. The layer ZIP contains separate named plates for editing in another vector application.
SVG and PNG will not look identical at high magnification. PNG retains the photograph's texture and per-pixel transparency. SVG uses a flat color for each region. TRACE is a tonal separation tool: it does not identify lettering, redraw a logo into a few ideal curves, or invent missing detail.
Artwork and material need different checks
An attractive SVG is not automatically a ready-to-cut design. A small isolated island can look right on screen but fall out of a sheet. Use Cut files to set a physical width in millimetres, inspect the material and cut-line views, clean details and add or edit connections. Kerf compensation uses your measured cutter width; it is not a universal machine preset.
Review warnings at your intended size. SVG and DXF are available in the making workflow, but compatibility and material behavior still need to be checked in your cutter software and on a small test piece. The sample download on this page is artwork, not a tested laser job.
Keep the original and the decisions
Save a named version before trying a different Look or layer count. A project backup retains the source and editing state, whereas an exported SVG contains the result shapes. Keep both when you may need to return to the photograph. Core TRACE and a combined SVG work without signing in; all creative controls are free. Pro adds larger unmarked output, named plate bundles, longer motion and larger batch / History capacity.
Questions before you start
Does SVG preserve every photographic detail?
No. Its shapes describe tonal regions. Choose PNG when you need photographic texture, fine color gradients or continuous alpha. Increase Detail only when the additional contours help the intended output.
Can I edit each layer elsewhere?
Yes. A combined SVG contains the visible paths. Pro's named SVG bundle separates the plates into files. Check scale, fills and hole rendering after import into the application you use.
What happens with a very complex photo?
There is a contour budget. If an output is too complex, export stops with a message instead of quietly dropping regions. Reduce Detail, simplify the source or work on a smaller image and retry.
Is my photo uploaded to produce the paths?
The image processing runs in your browser. SVG generation does not require sending the photo to an image-processing server. Account and billing requests are separate from the image pipeline.